

Key Takeaways
- Checking tyres, fluids, lights, and belts before a long drive significantly reduces breakdown risk.
- Many pre-trip checks require no tools and can be completed in under 30 minutes.
- A failing battery is one of the most common causes of roadside breakdowns on long trips.
- Any fluid leak, unusual noise, or warning light should be assessed by a qualified mechanic before departure.
- Seasonal conditions affect what to prioritise; winter and summer each add specific risks to your vehicle.
What you will need
Why a pre-trip check matters
A long drive puts sustained stress on systems that short commutes rarely test. Highway speeds raise tyre temperatures, extended engine run times accelerate fluid consumption, and hours behind the wheel leave little margin for a problem that could have been spotted in the driveway. This walkthrough covers the checks that most directly affect safety and reliability.
For a broader look at trip preparation beyond the vehicle itself, see the complete trip planning checklist, which covers documents, bookings, and final confirmations. If your car has significant mileage, high-mileage maintenance priorities outlines which systems need closer attention before any long haul.
None of the steps below require specialist tools or mechanical training. Where a finding is beyond a simple visual check, the right action is to have a qualified mechanic assess it before departure.
What you will need
What you will need
Gather these items before starting the walkthrough. Most are inexpensive and worth keeping in the vehicle permanently.
Tyre pressure gauge
Measures tyre inflation so you can compare against the manufacturer's recommended PSI.
Flashlight or torch
Illuminates the engine bay, beneath the vehicle, and inside the boot for a thorough visual check.
Clean rag or paper towel
Wipes dipsticks clean for accurate fluid level readings.
Tyre tread depth gauge
Gives a precise tread depth reading; a coin can serve as a rough substitute.
Owner's manual
Provides the correct fluid specifications, tyre pressure ratings, and service intervals for your specific vehicle.
Step-by-step inspection walkthrough
Work through these steps in order. Starting outside the vehicle and finishing inside keeps the process logical and avoids doubling back.
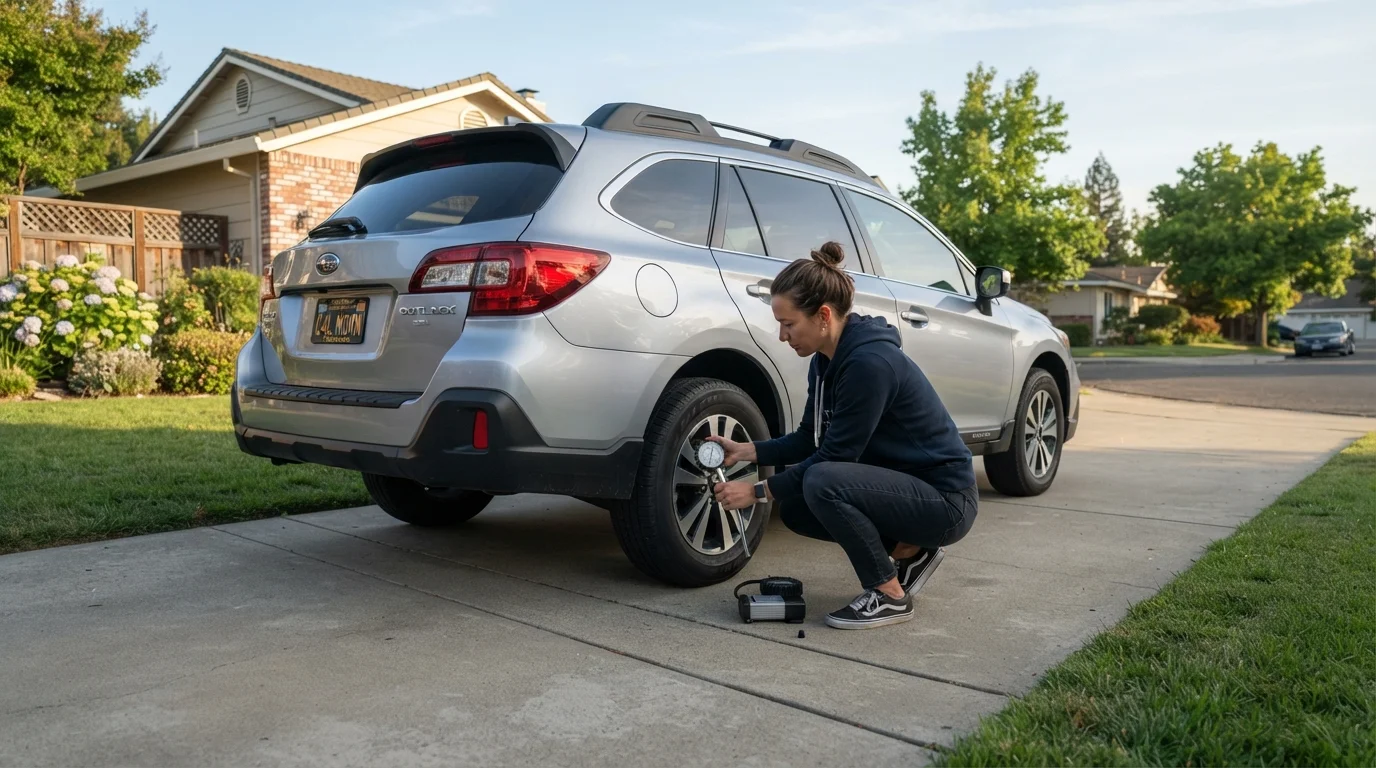
Check tyre pressure and tread depth
Use a gauge to check all four tyres, plus the spare if your vehicle carries one. The correct pressure is printed on a sticker inside the driver's door jamb or in the owner's manual, not on the tyre sidewall (that figure is the tyre's maximum, not the vehicle's target). Inflate or deflate as needed.
For tread, insert a quarter into a groove with the top of the head facing down. If the tread does not reach the top of the head, the tyre is near or past the legal minimum in most US states and should be replaced before a highway trip. Check for uneven wear across the tread face, which can indicate an alignment or inflation problem.
Inspect all fluid levels
With the engine off and cool, open the bonnet and check the following:
- Engine oil: Pull the dipstick, wipe it, reinsert fully, then pull again. The oil level should fall between the two marks. Note the colour: very dark or gritty oil that is also overdue for a change is worth addressing before a long trip.
- Coolant: Check the overflow reservoir (not the radiator cap on a hot engine). The level should be between MIN and MAX. Low coolant on a highway trip can lead to overheating.
- Brake fluid: The reservoir is usually translucent. The level should be within the marked range. A significantly low level can signal worn brake pads or a leak, both of which require a mechanic's attention.
- Power steering fluid (if applicable): Many newer vehicles have electric power steering and no reservoir. Check the owner's manual.
- Windshield washer fluid: Fill completely before departing. Highway driving consumes this faster than city driving.
Test all exterior lights
Walk around the vehicle with the ignition on and headlights active. Check low beams, high beams, brake lights (use a wall or ask someone to watch), turn signals front and rear, reverse lights, and hazard flashers. Replace any burned-out bulb before leaving. A non-functional brake light is both a safety risk and a traffic stop waiting to happen on an unfamiliar road.
Inspect belts and hoses visually
With the engine off, look at the serpentine belt (the main drive belt visible in most engine bays). Check for fraying, cracking along the edges, or glazing (a shiny surface where the belt contacts pulleys). A belt that shows those signs is close to failure. Squeeze accessible coolant hoses: they should feel firm but slightly pliable, not rock-hard, brittle, or soft and spongy. Any hose that feels degraded or shows exterior cracking warrants replacement.
For a deeper reference on the battery and charging system, see car battery basics, which covers failure signs and what to do when a battery goes flat on the road.
Check the battery
A weak battery is one of the most frequent causes of roadside breakdowns on long trips, particularly in extreme heat or cold. Look for corrosion (a white or blue-green powder) around the terminals. Clean minor corrosion with a battery terminal brush. Check that the cables are firmly attached. If the battery is more than four years old, or if the engine has been slow to crank lately, a load test at a shop or auto parts store will confirm whether it still holds sufficient charge. Many stores perform this at no cost.
Verify brakes and brake pedal feel
Before departing, press the brake pedal firmly in a stationary vehicle. It should feel solid and stop well before reaching the floor. A spongy pedal or one that sinks slowly under sustained pressure can indicate air in the brake lines or a fluid leak: both require immediate professional attention. On your first slow roll before the highway, apply the brakes deliberately and listen for grinding, squealing, or pulling to one side. Those are signs of worn pads or uneven brake wear.
Confirm emergency equipment is present
Open the boot and verify that the spare tyre is present and properly inflated, the jack and lug wrench are in place, and you have a reflective triangle or road flares. Add a basic emergency kit if you do not have one: jumper cables or a jump starter pack, a first-aid kit, water, and a blanket. For seasonal trips, seasonal vehicle preparation outlines additional items for cold-weather or hot-weather driving.
Schedule service if you are near a milestone
If your oil change, tyre rotation, or any other scheduled service is within 1,000 miles of your planned trip distance, do it before you leave rather than after. Combining a service visit with your pre-trip check saves time and removes uncertainty. The DIY vs. workshop guide can help you decide which tasks to handle yourself and which to hand off.
After the inspection
If everything checks out, record the current odometer reading and note any items that are marginal but within acceptable range, such as a tyre tread depth approaching the minimum. That record is useful when you return, because a long trip provides a controlled measurement of fluid consumption and tyre wear rates.
Any warning light that appears during the drive, any new vibration, or any fluid spot under the car when parked overnight are signals to stop driving and get a professional assessment. Ignoring them rarely saves time overall.
For context on what recurring maintenance costs look like over a full year, the annual vehicle ownership cost worksheet is a useful reference. And if this inspection surfaces a concern about your existing coverage, the insurance hub covers the main concepts worth understanding before a long trip.
Drivers who want to go deeper on any individual system can find a full maintenance reference in the complete guide to keeping your car in peak condition. Once you are on the road, on-the-road tips covers how to handle travel days and unexpected situations.