

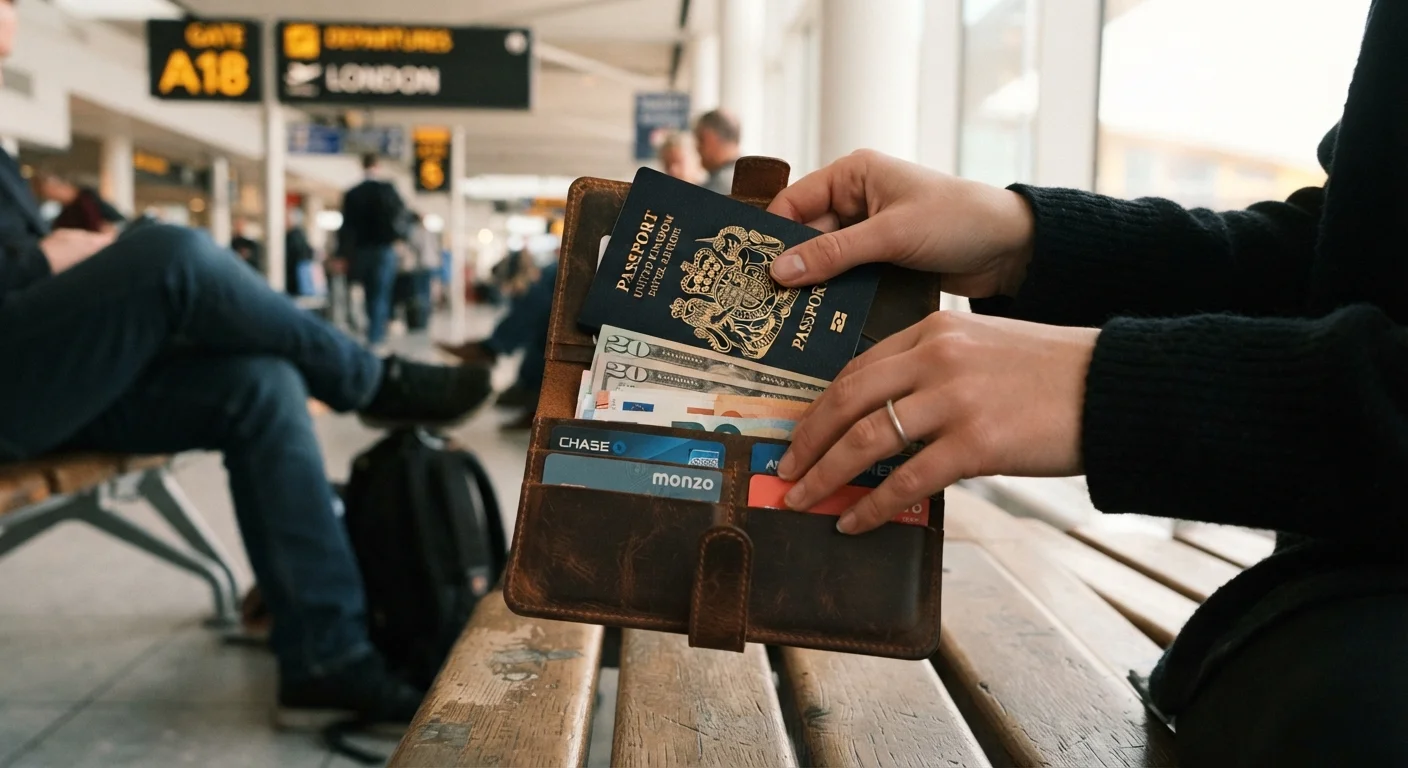
Key Takeaways
- Distribute your cards and cash across multiple locations so one theft does not clear you out.
- RFID-blocking sleeves reduce the risk of contactless skimming on passports and chip-enabled cards.
- Digital backups of key documents stored in secure cloud storage can save a trip if originals are lost.
- Notify your bank before traveling to prevent legitimate transactions from being flagged and blocked.
- Body-worn pouches outperform standard pockets and bags in crowded transit environments.
What you will need
Why transit moments carry the highest risk
Most document and money theft does not happen while you are settled at a hotel or seated at a restaurant. It happens during transitions: moving through a busy airport terminal, boarding a train, navigating an unfamiliar metro system, or loading luggage into a taxi. Your attention is split, your bags are open or moving, and you are surrounded by strangers. That combination creates opportunity.
Understanding this pattern changes how you prepare. The goal is not to be suspicious of everyone around you, but to build habits that make you a much harder target before a risky moment even begins. Most protective measures take only a few minutes to set up at home, long before you reach any transit hub.
For a broader view of the behavioral patterns that make travelers vulnerable, see why travelers get caught out by petty theft.
What you will need
What you need before you start
Gather the following before running through these steps. Having everything in one place lets you complete the setup in a single session rather than across several rushed mornings.
RFID-blocking travel wallet or money belt
Shields contactless-enabled cards and passport chips from electronic skimming in crowded areas.
Neck pouch or hidden body pouch
Keeps passport and a backup card against your body and out of reach in transit crowds.
Secure cloud storage account
Stores encrypted digital copies of your passport, visa, and insurance documents for emergency access.
Backup payment card
Provides a second funding source stored separately from your primary card in case of loss or block.
Small padlock or cable lock
Secures zipper pulls on a bag when you must set it down in a public area.
Step-by-step: securing your documents and money
Make digital backups of all critical documents
Photograph the data page of your passport, any visas, your travel insurance card, and the front and back of each payment card you are bringing. Upload these to a password-protected cloud storage account you can access from any device. Do not store them in a standard camera roll or unsecured folder.
Email yourself a second copy as a fallback. If your phone is lost or stolen, you can still access these files from a hotel computer or a borrowed device at an embassy.
Notify your bank and review card settings
Log into your bank's app or call the number on the back of your card and set a travel notice covering your destination and travel dates. Check whether your account has any daily ATM withdrawal or purchase limits that could restrict access when you need funds.
Confirm you have a way to reach your bank from abroad, including a number that accepts international calls. Write that number down separately from your card.
Distribute cards and cash across separate locations
Never carry all your payment options in the same wallet or bag pocket. Put your primary card and daily cash in one location. Store your backup card and a small emergency cash reserve in a separate compartment, pouch, or hidden pocket. Keep your passport in a body-worn pouch whenever you are moving through transit environments.
The point of separation is simple: if one location is accessed by a pickpocket or you set a bag down and it is taken, you still have funds and ID elsewhere.
Use RFID-blocking protection on cards and passport
Modern passports and most chip-enabled payment cards transmit data via contactless radio signals. In very close quarters, specialized skimming devices can read these signals without physical contact. RFID-blocking sleeves or wallets interrupt this transmission at essentially no cost or inconvenience.
Slide each card into a blocking sleeve, or use a wallet with blocking material built into the lining. Your passport fits into a blocking sleeve or a blocking-equipped travel document holder.
Adopt transit-specific habits for each leg of your journey
At security checkpoints, move your valuables from outer pockets into your carry-on before joining the queue, not while standing at the conveyor belt. Retrieve them after you are fully through the checkpoint and away from the immediate crowd.
On public transit, wear bags on your front rather than your back in crowded cars. At ATMs, use your body to block the keypad from view when entering a PIN, and check the card slot for anything loose or unusually thick before inserting your card.
See keeping devices charged and connected for guidance on protecting your phone in the same transit environments, since a lost phone also means lost access to your digital document backups.
Know exactly what to do if documents or cards are lost
Before you depart, write down the steps for each possible loss scenario. For a lost or stolen passport, the process involves contacting the nearest U.S. embassy or consulate. Verify the current process and contact details directly on the U.S. Department of State website before travel, since procedures can change.
For lost or stolen cards, the number on the back of the card is your starting point. Most issuers also allow you to freeze a card instantly through their app. For a broader pre-trip preparation checklist covering these scenarios, see the pre-trip safety checklist.
Once your system is in place, revisit it briefly before each leg of the journey, not just at the start of the trip. A bag reorganized at a hotel, a card moved to a different pocket, or a phone tucked into an unusual spot can quietly undo the setup you built at home.
For related packing decisions that affect how accessible your documents and valuables are mid-journey, the carry-on packing mistakes guide covers which habits slow travelers down at security and leave essentials out of reach.
Managing cards and cash across a full trip
A debit card blocked mid-trip because your bank flagged an overseas charge is one of the most common financial disruptions travelers face. Calling your bank or using its app to set a travel notice before departure takes about five minutes and prevents most automatic fraud blocks. Check whether your cards charge foreign transaction fees; if they do, know that the cost compounds quickly over a long trip.
Carry a mix of payment options. A primary card, a backup card stored separately, and a modest amount of local cash covers the situations where cards are not accepted or card readers are unavailable. ATMs attached to established bank branches generally present lower skimming risk than standalone machines in tourist-heavy areas. If you withdraw cash, do it in larger amounts less frequently rather than small amounts repeatedly, to reduce the number of times you expose your PIN.
Travel insurance with trip interruption and emergency cash assistance is worth reviewing before any international journey. Coverage details vary significantly by policy and provider, so read the actual terms rather than relying on a summary. For more on what insurance frameworks to consider, see the insurance hub.
Set up account alerts before you leave
Most banks allow you to enable real-time transaction alerts via text or app notification. Turning these on before travel means you see unauthorized charges as they happen, not days later. Early detection limits the window for additional fraudulent charges and speeds up the dispute process with your bank.