

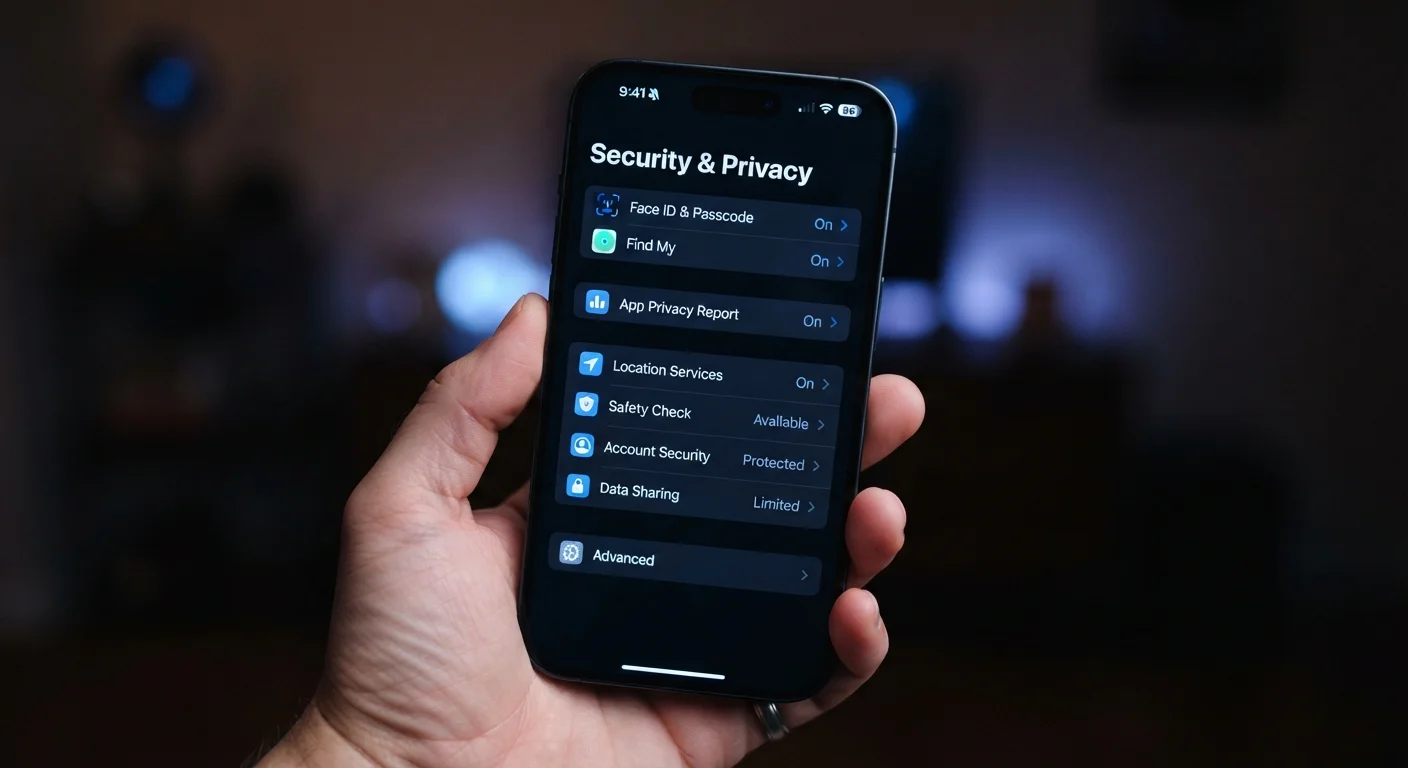
Key Takeaways
- Default device settings often prioritize convenience, leaving several security gaps unaddressed.
- Lock screen notifications can expose sensitive information to anyone nearby.
- Automatic software updates are one of the simplest and most effective security measures available.
- Guest or secondary user accounts can prevent full data exposure when sharing a device.
- Reviewing app permissions and location access regularly reduces your data exposure significantly.
What you will need
Why default settings leave gaps
Device manufacturers set defaults to get products working out of the box as smoothly as possible. That goal often conflicts with security. Notifications appear on lock screens so you never miss a message. Location access is granted broadly so apps work without friction. Software updates are sometimes delayed or require manual approval. The result is that a brand-new device, configured by no one, is frequently less secure than it could be with thirty minutes of attention.
None of the settings covered here require technical knowledge to change. They are all accessible through standard menus. What they require is knowing they exist.
Weak PINs remain a common entry point
A six-digit PIN using a birth year, "123456," or repeating digits provides very little protection. If your device supports a longer alphanumeric passcode, that option is available under Settings, then Face ID and Passcode (iOS) or Screen Lock (Android). A longer passcode takes a fraction more time to enter and is significantly harder to guess or brute-force.
What to adjust and where to find it
The steps below apply across iOS, Android, Windows, and macOS, though the exact menu labels differ by platform and version. The underlying options are present on all of them.
What you will need
Work through each step on your primary device first, then repeat the process on any secondary devices you use regularly.
Limit what shows on your lock screen
Go to Settings, then find Notifications or Lock Screen (the exact label varies by operating system). Look for an option labeled something like "Show previews" or "Notification content on lock screen." Change it to show previews only when the device is unlocked, or turn off previews entirely.
This prevents message content, email subjects, and app alerts from being readable to anyone who picks up your device without unlocking it.
Turn on automatic software updates
Open Settings and search for Software Update or Windows Update. Enable automatic downloads and automatic installation. On mobile devices, you can usually set updates to install overnight while the device is charging.
Software updates frequently patch security vulnerabilities. Delaying them leaves known weaknesses open longer than necessary.
Audit app location access
Go to Settings, then Privacy (or Privacy and Security), then Location Services or Location. Review each app listed. For any app that does not need your location to function, change the setting to "Never" or "Deny." For apps that legitimately need location (navigation, weather), consider setting them to "While using the app" rather than "Always."
"Always" access means an app can log your location in the background, even when you are not actively using it.
Enable two-factor authentication on your device account
Your Apple ID, Google account, or Microsoft account controls access to backed-up data, purchases, and linked devices. Open the account settings (not the device settings) for whichever account is connected to your device and enable two-factor authentication, sometimes labeled 2-Step Verification.
With this on, anyone who gets your password still cannot access your account without a second code sent to a trusted device or phone number.
Check which apps have access to your microphone and camera
Under Settings, then Privacy, look for Microphone and Camera sections separately. Review every app listed. Revoke access for any app where there is no clear reason it needs to use your camera or microphone.
A photo-editing app needing camera access is reasonable. A note-taking app requesting microphone access without a voice recording feature is worth questioning. For more detail on how these permissions work, see what app permissions actually mean.
Set up a guest mode or secondary user account
On Android tablets and most laptops, you can add a guest profile under Settings, then Users or Accounts. On Windows, go to Settings, then Accounts, then Family and other users and add a standard (non-administrator) account for guests.
When someone else uses the device in guest mode, they cannot access your files, apps, or saved passwords. This is more protective than simply handing over an unlocked device.
Review Find My Device and remote wipe settings
On iPhone, open Settings, tap your name, then Find My. On Android, go to Settings, then search for Find My Device. On Windows, open Settings, then Privacy and Security, then Find My Device. Make sure the feature is enabled.
If your device is lost or stolen, Find My Device lets you locate it on a map, lock it remotely, or erase it entirely. None of this works unless the setting was on before the device went missing.
Keeping settings current over time
Security settings are not a one-time task. Apps update and request new permissions. Operating systems introduce new options. Devices get shared with family members or colleagues. A quick review every few months catches drift before it becomes a problem.
Check these settings after every major OS update
Operating system updates occasionally reset certain privacy settings or introduce new permission categories that default to a permissive state. Running through your location, camera, and microphone permissions after a major update takes only a few minutes and catches anything that changed without your input.
Building the habit of checking permissions when you install a new app also prevents problems before they start. The moment an app requests access to your microphone, camera, or location is the right time to ask whether that access makes sense, not months later during a periodic audit. For a closer look at how those permission requests work, understanding app permissions explains each category in detail.
Public Wi-Fi increases exposure without these settings
On open networks in cafes, airports, or hotels, other devices on the same network can potentially see unencrypted traffic. Make sure your device's firewall is on (Windows: Settings, then Privacy and Security, then Windows Security, then Firewall) and avoid accessing sensitive accounts on public Wi-Fi without a VPN. The security settings in this guide reduce your baseline exposure regardless of network.